Preserving the Flavors of Spring at the Farmers Market – How to Pickle Asparagus Step by Step with Photos
The Nature of Rest
What the Bible and Creation Teach Us About Sabbath Living
Intentional Parenting
Nature Studies
Apologetics
Adventure
Free Resource
Entrepreneurship
Homeschooling
Faith
Books
Categories
Master Naturalist, Bible teacher, author, wife, and mama of four! Join our adventures of discovering God while adventuring in creation.
I'm Eryn
Hey there!


Listen Now


Order now
Revel in the Fresh Flavors of Spring
All winter I long for the fresh, local flavors of the farmers market. Dare I say I romanticize the market in my mind, with wistful thoughts of colorful vegetable displays, boasting of bright bell peppers, deep purple eggplants, and an array of green hues from jalapeno peppers to watermelons. And then it happens: the market opens, only with far less to offer than my expectant daydreams.
Summer at the farmers market carries a great bounty of fresh fruits and vegetables, but early spring renders far less variety. Instead of being discouraged by the more meager offerings of the early farmers market season, I’ve learned to appreciate the fewer, but in no way subordinate, flavors of spring.
Spring Offerings at the Farmers Market
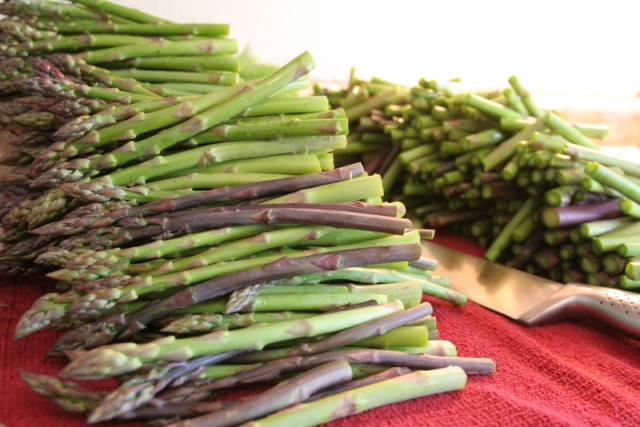
This past weekend at the market we found gorgeous purple and green asparagus, fresh dill, and baby (or green) garlic. This recipe for pickled asparagus is a beautifully simple and delicious way to revel in the flavors of spring all year long.
Pickled asparagus is a delicious garnish to sandwiches, wraps, and salads; or at a cookout on natural hot dogs, burgers and brats. It is also a great snack or appetizer on its own, or rolled up in cheese and ham.
I know there seem to be a lot of steps, but that’s because I wanted to be as detailed as possible in the instructions. Canning asparagus really is a simple process; and once you get the hang of it, it can be a fairly quick process as well. Trust me–the work is worth it!
Ingredients You’ll Need From the Farmers Market
(Makes four 1.5 pint jars)
- 4 pounds fresh asparagus
- 1 bunch fresh dill
- 8 stalks baby (or green) garlic
- dried chili peppers (optional for spicy asparagus)
A few notes:
- Of course your ingredients will boast the freshest, most local and delicious flavors if you can find them at your local farmers market, but if you’re unable to locate them there, search at your local super market (when in season).
- Asparagus is one vegetable that you definitely want to take advantage of while it is in season. Out of season it can taste very bitter.
- I wanted to stock our shelves, so the photos taken are of eight 1.5 pint jars. The recipe is for only four jars.
Finding fresh asparagus:
Choose firm, bright green (or purple) asparagus stalks with plump, tightly closed tips. Fading color is a sign of deterioration. Check the stem ends to make sure they look freshly cut, not shriveled or dried out.
Purple Asparagus is slightly sweeter than green. If you can find it, try pickling a mixture of green and purple in each jar for variety.
Pickling Asparagus Requires Minimal Equipment
I bought my equipment new from Farm and Fleet for the prices listed below, but you could buy it used for cheaper.
- A large pot, at least 10 inches high, and 11 inches in diameter (Walmart, $11.99)
- Metal rack for inside the pot, to keep jars from resting on the bottom (2.99)
- “Ball” tall 1.5 pint jars (nine for $9.99)
- Tongs, jar grabber, and magnetic lid lifter (I bought a set including these and 3 other small canning tools for $14.99)
To Begin the Pickling Process, Sanitize Your Jars, Lids, and Lid Rings
1) Unscrew the lid rings and remove lids
2) Place wire rack in the bottom of your pan
3) Place jars, lids, and lid rings in the pot; cover with water
4) Bring the pot to a boil, boil for 10 minutes, remove from heat
5) Leave everything in the pot of hot water until you are ready to fill your jars

Preparing Your Asparagus
1) Begin by washing your asparagus. I simply placed all of my asparagus in the sink, covered them in cold water, and thoroughly “swished” them in the water until all of the dirt was released. I then drained the water and thoroughly rinsed them.
2) In one hand, line up the tips of the asparagus in manageable handfuls.
3) Cut your asparagus into about 6-inch spears. The easiest way I found to do this is to lay a measuring tape or ruler along a cutting board, lay your handful of asparagus next to it with the tips at the 6-inch mark, and cut the stems at the “0” mark”.
4) Do not discard the stems! We will actually have no waste from the asparagus, but I’ll get into that shortly. For now just set them aside.
How to Prepare Your Baby (or Green) Garlic
1) Rinse your baby garlic
2) Slice off the root tip from the clove; discard root tip
3) Cut the clove from the stem
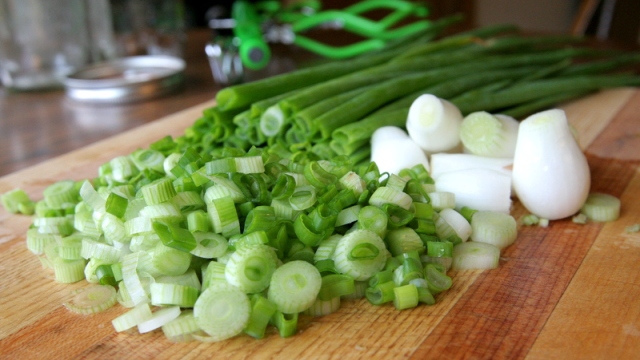
4) Thinly slice the stalks from the white through a couple of inches of green (just like with green onions)
5) Save the cloves and slices of stalk. Set aside the remaining green stalk with your asparagus ends
What is one thing you love to pickle or can, or would like to try pickling or canning? Comment below!
Making a Brine for Pickled Asparagus
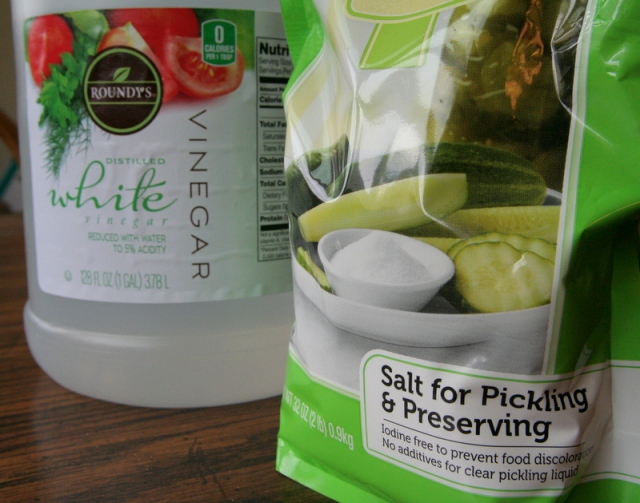
- 4 1/2 cups water
- 4 1/2 cups white vinegar, 5% acidity
- 1/2 cup pickling salt ($2.99 for 2lbs at Farm and Fleet)
Bring the brine to a boil in a separate medium pot or sauce pan.
Minimizing Vegetable Waste
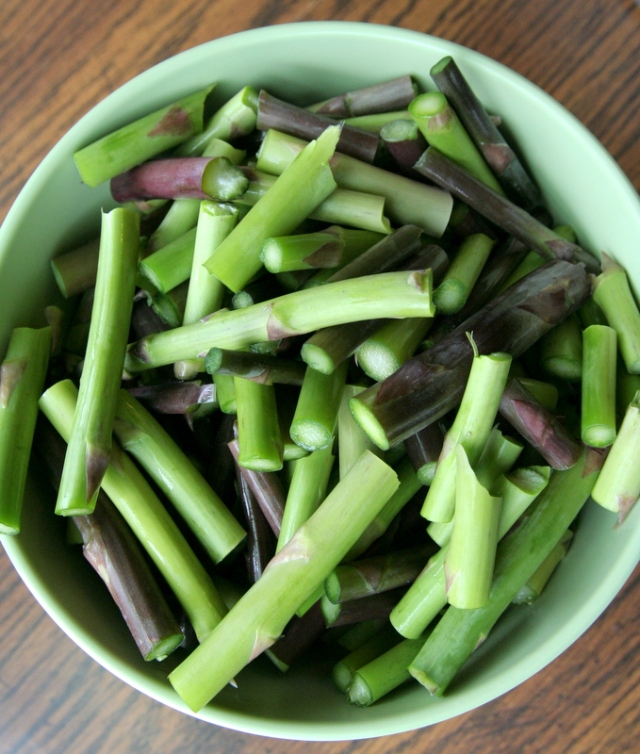
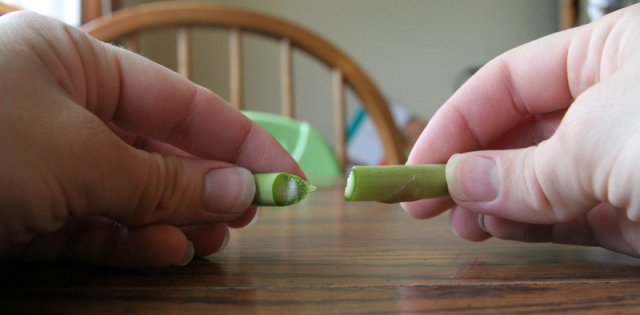
Okay–back to the asparagus ends. Hold each opposite end, and bend until they snap at their natural breaking point. You’ll end up with two small pieces.
The original end of the spear is not edible as it has a hard, woody taste. You don’t have to waste it, however; instead place it into a freezer bag. This freezer bag can become your “veggie ends and pieces bag”. Every time you’re trimming vegetables, save the inedible pieces in this bag in your freezer, then throw them all into a pot next time you’re making your own chicken or vegetable stock.
This is also where you can put the remaining green stalks from your baby garlic.
The other piece, originally the middle of the asparagus spear, is edible and can be used in future recipes. Store these pieces in your fridge to use that week, or in the freezer for later use.
Bringing it All Together – How to Pickle Asparagus
1) Lift a sanitized jar out of the water with tongs, pouring the water back into the pot
2) Place two large pinches of your sliced baby garlic in the bottom of the jar
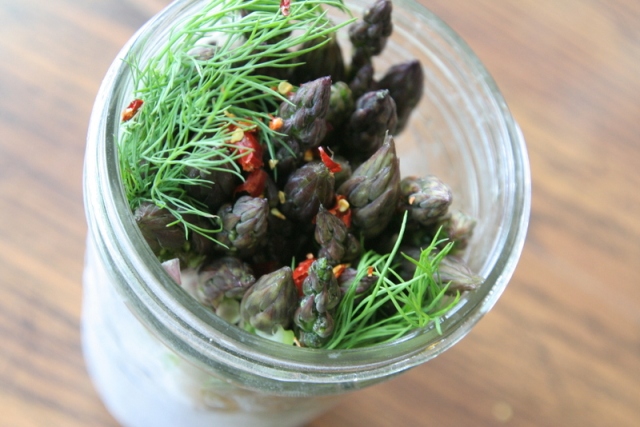
3) Fill the jar with asparagus spears, leaving some room around the edges. Asparagus spears should come up to the top of the jar
4) Tuck a few sprigs of (rinsed) fresh dill, and two cloves of baby garlic around the edges of the jar
5) Continue packing asparagus spears around the edges of the jar until completely packed
6) Optional–sprinkle finely chopped dried chili peppers (or dried pepper flakes) on top of asparagus
7) Pour boiling brine into jar until it comes to about 1/2 inch of the top
8) Wipe rim of jar with clean, damp washcloth or paper towel
9) Using magnetic lid lifter, lift lid and lid rim out of water. Place lid on jar, pushing down if need be, while screwing lid rim on to close. Screw on snugly, but not with all of your might.
10) Using jar grabber, lower jar back into water, making sure it remains upright
11) Repeat with all four jars. Jars should be submerged with at least 2 inches of water covering them, so add more water if need be. Bring pot back to a boil, and boil the jars for 10 minutes.
12) Using jar grabber lift jars out of the pot. Set jars on a towel where they will not be bumped or disturbed for 24 hours. Once the jars are cool, you can check that they are sealed verifying that the lid has been sucked down. Just press in the center, gently, with your finger. If it pops up and down (often making a popping sound), it is not sealed. If you put the jar in the refrigerator right away, you can still use it.
13) Sealed jars should sit for 4-5 days before opening for best flavor.
A Pleasant Surprise for Winter Months
Give yourself a couple of hours for your first go at this. You won’t be disappointed a few days later, when at last you can open and enjoy your first jar of pickled asparagus.
You’ll be thanking yourself even more come January, when the only asparagus to be found at the market has been shipped from across an ocean, offering only wilted, dull, bitter-tasting spears, and costs an arm and a leg. In your pantry however can be found a scrumptious jar of pickled asparagus grown by a local farmer and preserved by your own hands!
Real Food Question of the Week, Comment Below! – What is one thing you love to pickle or can, or would like to try pickling or canning?
Sources:


learn more
Raising kids stirs something deep in our souls — an innate knowing that our time is finite. Taking my kids outside in creation, I’m discovering how to stretch our time and pack it to the brim with meaning. God’s creativity provides the riches of resources for teaching the next generation who He is and how He loves us. Join our adventure and discover inspiration and resources for refusing rush, creating habits of rest, living intentionally, and making the most of this beautiful life!
I'm Eryn, Master Naturalist, Author, & Bible Teacher
Hey there!


Receive free inspirational resources for refusing rush, creating habits of rest, parenting with intentionality, and teaching our kids who God is through what He has made!
Inspired
Be
Brand + Website by Amarie Lael Design | TERMS & CONDITIONS + PRIVACY POLICY | Copyright 2011 - 2025 Eryn Lynum
Contact
Speaking & media
About
Books
Shop
Videos & Interviews
Email List
Stories
Free Downloads
Resources
Home
@erynlynumauthor


The Nature of Rest
What the Bible and Creation Teach Us About Sabbath Living
Now Available!
Order
X
Signed Copy




I friend gave me a jar of old-fashioned ‘Chow Chow’ that she canned recently. I have never pickled when I can because I do not like pickles, but this jar of chow chow has shown me the error in my ways, it is delicious. Chow chow is a pickled vegetable recipe and everyone that makes it seems to have a different recipe for it that has been handed down through generations of their family. The one my friend made was from her grandmother and it included a mix of finely chopped cauliflower, cabbage, carrots, green tomatoes and a touch of jalepeno peppers. It as also a ‘sweet & sour’ variation that included sugar as well as vinegar in the brine.